Wednesday, April 13, 2011

Meet Pete the Peacock

Sew Weekly's 30 Days of Pincushions Giveaway made me realize I needed a proper pincushion for my sewing table.  I have a mini one in my embroidery kit, but it's too small for more than a few pins.  When I saw Spincushions' pincushion I was immediately drawn to her shop.

I loved all of her cushions, but I fell in love with her peacock version.  I was even more excited because she offered a kit so I could make my own!

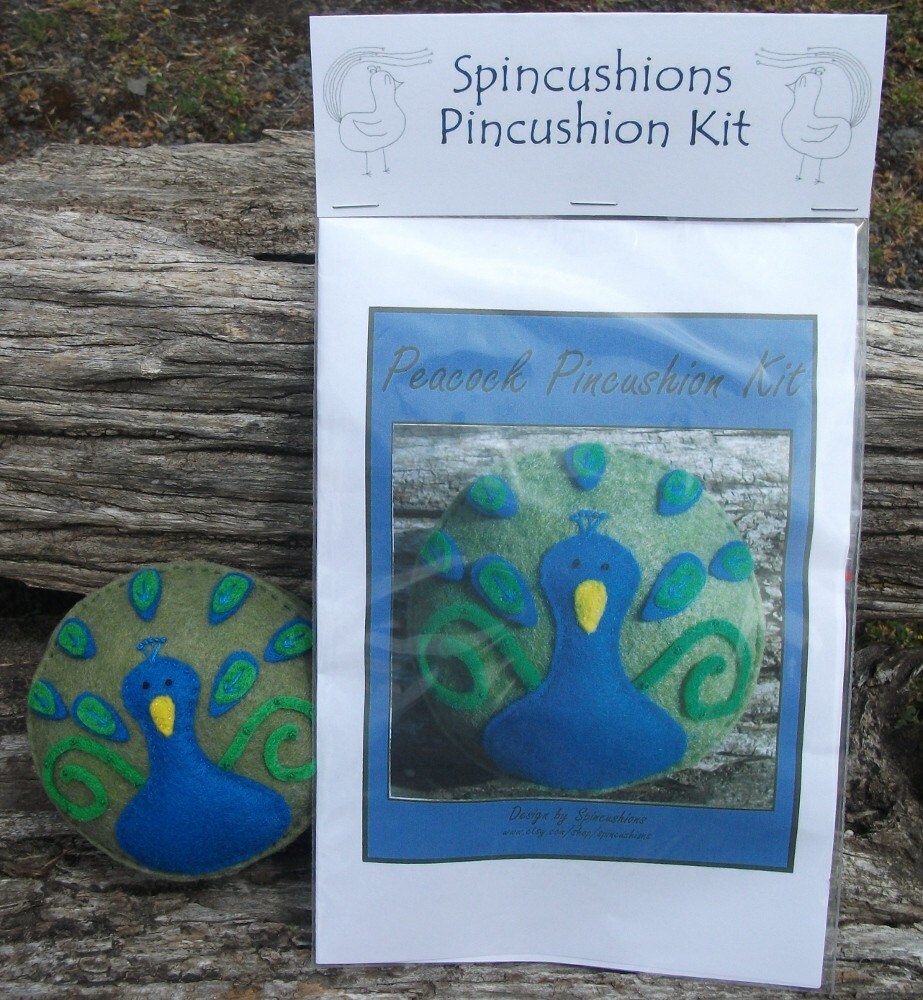
Pic from Spincushions' Shop
My kit arrived within a week, which given it was coming from southern Australia to Kentucky that's pretty speedy!  My package contained the required supplies with the exception of the stuffing, which I already had on hand.  The felt for the top, bottom and sides were pre-cut, along with the green squiggles and beak.  This was super helpful since I'm terrible at cutting (have I mentioned this before, LOL!)  I had to trace out the pattern for the peacock body and feathers.

Construction was pretty fast and the directions were clear.  The only part I got a bit confused on was sewing the cushion all together.  The instructions said to use a running stitch, but I couldn't figure out how that would be really secure.  So I did a whip stitch instead.

I think Pete the Peacock (I'm compelled to name everything, hehe!) came out adorable!
My finished pincushion!

Then I was thinking a wrist pincushion would be nice.  The lovely Cupcake Goddess of A Fashionable Stitch had been hinting about a new product in her shop, a wearable notion.  I was really hoping it was going to be wrist pincushions and it was!!!  They appeared in her shop today!  I purchased her beautiful "Summer" version, which is actually the one (or a similar one) on her wrist in the pictures in her post.

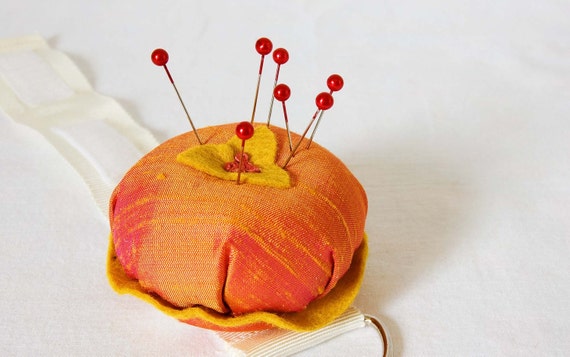
Pic of "Summer" from A Fashionable Stitch

I can not wait to use it, especially when I'm tracing my patterns and making fit adjustments.  I will be using it while making my Beignet skirt, which is all cut out and waiting for me to get some time to start sewing! 

Sunday, April 3, 2011

Sweet Success!!!

I finally completed a sewing project!  I was worried it was never going to happen.  LOL!

Well it isn't my Swing Dress, that's still being slowly hand basted to the underlining.  I'm really dragging my feet aren't?!  However it is Sewaholic's Pendrell blouse!

I was excited about this pattern because it seemed easy(ier) and would fit nicely in my wardrobe.  I chose a rayon challis I found at Hancock.  It's kind of heavy, and frays like mad...but it's a dream to wear! 


I traced off the largest size and for once I was happy about that.  All the other size lines seemed very confusing.  I made zero pattern modifications and it fits really nicely.  I kept the long length for versatility.  Plus I have a long torso as it is and it's nice to have a shirt that will either stay tucked in or won't show my undies when I sit down! 


Next I'm going to tackle my Beignet pattern.  I have a lovely light grey cotton twill and navy buttons.  I'm a bit concerned though because I relied a lot on Tasia's sew along posts for my blouse (even though the directions were very clear, I like the tips and tricks) and this pattern doesn't have that.  I've also never done buttons before so it's going to be an adventure. 

During my posting hiatus (I'm blaming work) I made homemade Samoas (also known as Carmel De-Lites).  I used this recipe.  They were quite time consuming to make, but the end result was pretty tasty.  Plus you get bigger cookies, and three times as many than the official Girl Scout ones. 
Side-by-Side comparison

I'll still support the Girl Scouts (especially since I remember my days selling cookies), but during the 10 months out of the year I can't get actual Samoas, I can whip these up instead.